Colar Lindo
Achei na Net
http://tatertotsandjello.com/2011/06/make-beachy-rosette-button-necklace.html
Here’s my Summer Necklace #2.
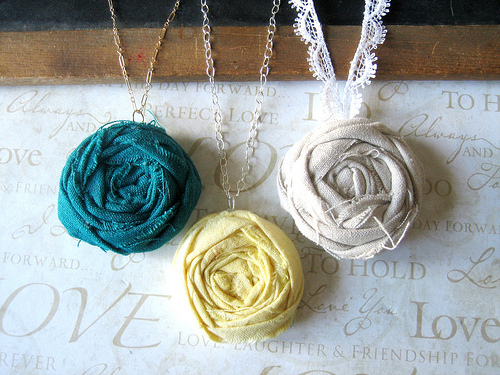
I have loved seeing all of those pretty Rosette necklaces around, I really wanted to make one for summer. So I took some of the material left over from my Flirty Summer Button Necklace #1 and made some rosettes.
{I have a Rosette Tutorial here if you want to learn how to make the rosettes.}
Beachy Rosette Button Necklace
Supplies:
 Fabric – I used more of the Dollar Store Fabric Sacking
Felt for the backing
Ribbon
Scrapbook brad
A button
Glue and glue gun, or fabric glue
{This is also a very simple necklace to make}
- First I cut out a half circle bib
- Then I made the rosettes.
- Once the rosettes were made I glued arranged them on the bib. And I added the button. Mine is a scrapbook brad inside of a rhinestone button I found at an antique store. I loved the aqua color of the button with the antique rhinestones.
SO beachy and pretty!!!
- The last thing that I did was measure out two lengths of ribbon to tie the necklace together. I added extra so the stings would hang down and showcase the ribbon.
And now I have a Beachy Summer Rosette Necklace, perfect for a summer bonfire or BBQ!!

GUIRLANDA DE FLOR RÚSTICA
Achei essa Guirlanda na Internet muito linda.
Do you have one craft that you love to make the most??
Mine has to be wreaths. I LOVE creating them.
I have so many wreath ideas floating around in my head. And that is why I am so excited about this post.
Back in January, Beckie from Infarrantly Creative and I thought of a fun idea.
What if we each thought of a different wreath to make every month for 6 months??
We are teaming up up with Styrocrafts – the maker of Styrofoam wreaths for this 6-month challenge!!
And the most exciting part?? YOU get to be involved!!
more to that coming up!
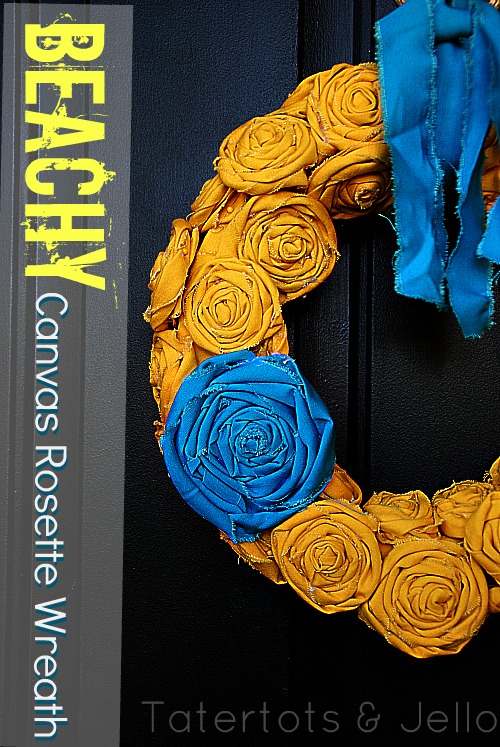
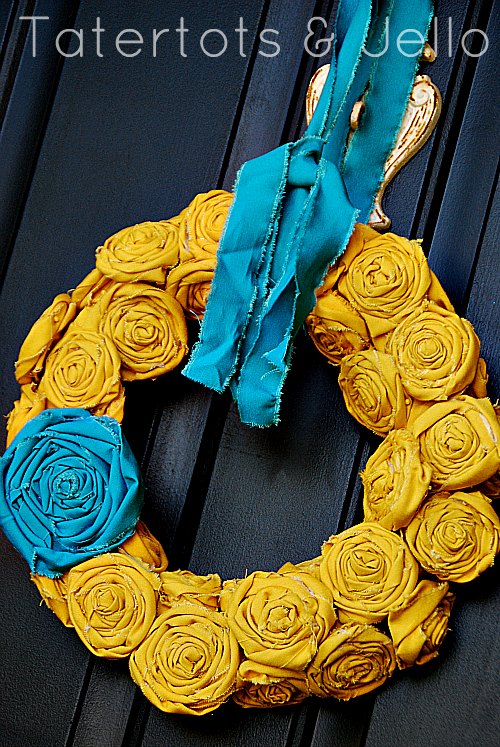
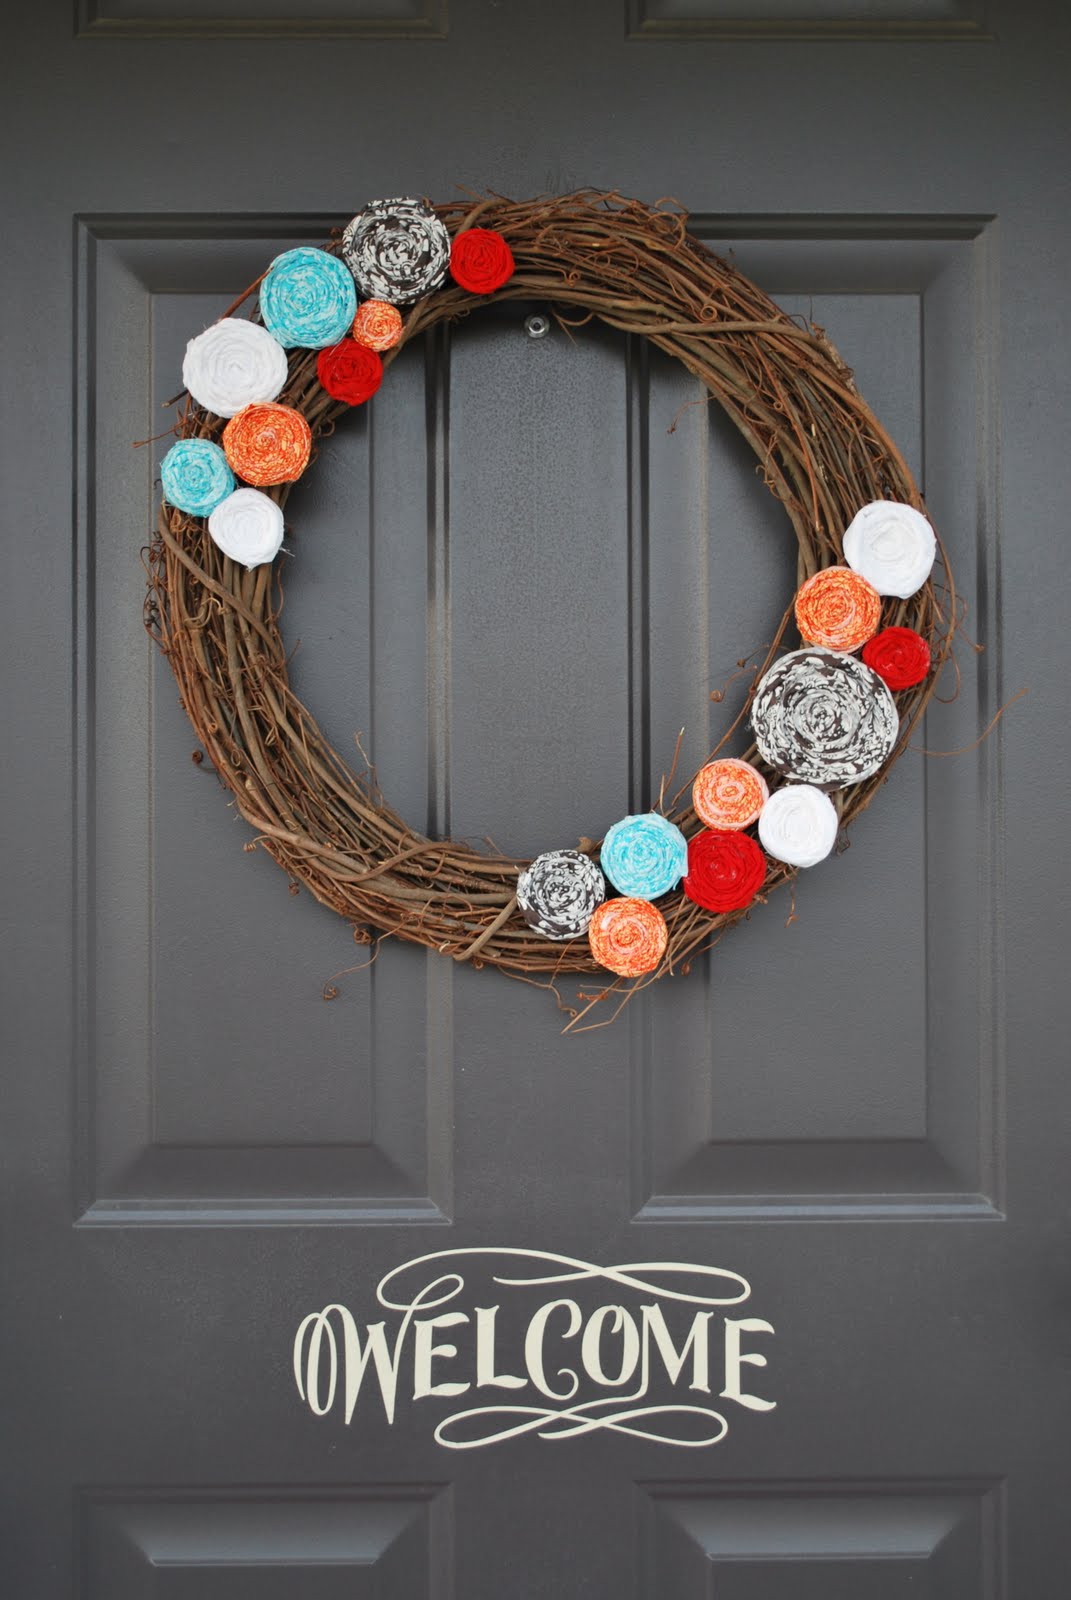
Here is my first wreath for this challenge — a Beachy Canvas Rosette Wreath.
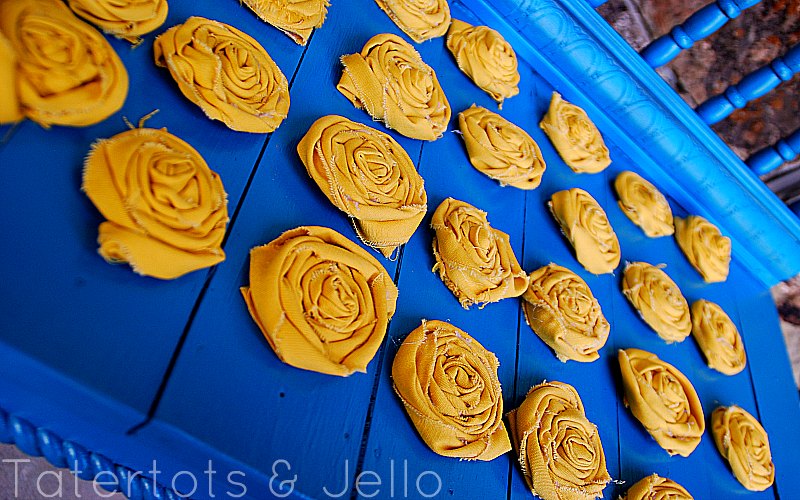
I took the canvas rosettes that I love to make and made a big mess of them for this wreath. The thing I love about this wreath is you can make it for ANY holiday or occasion. Halloween with orange and a big black rosette or vice-versa. What about Christmas with red rosettes and one big green one? Or how about the Fourth of July with blue rosettes and one big red one?? So fun.
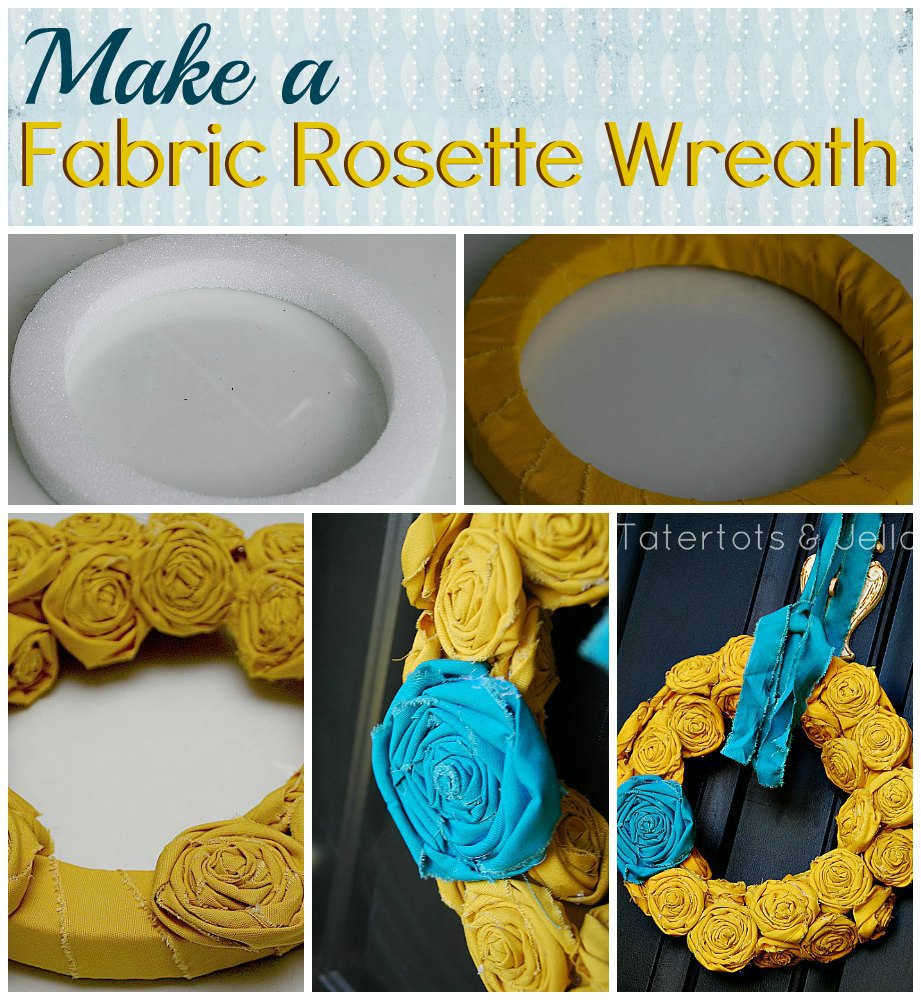
Here’s how I made this Canvas Rosette Wreath:
- I tore 35 lengths of 26″ long and 2″ wide strips out of yellow canvas.
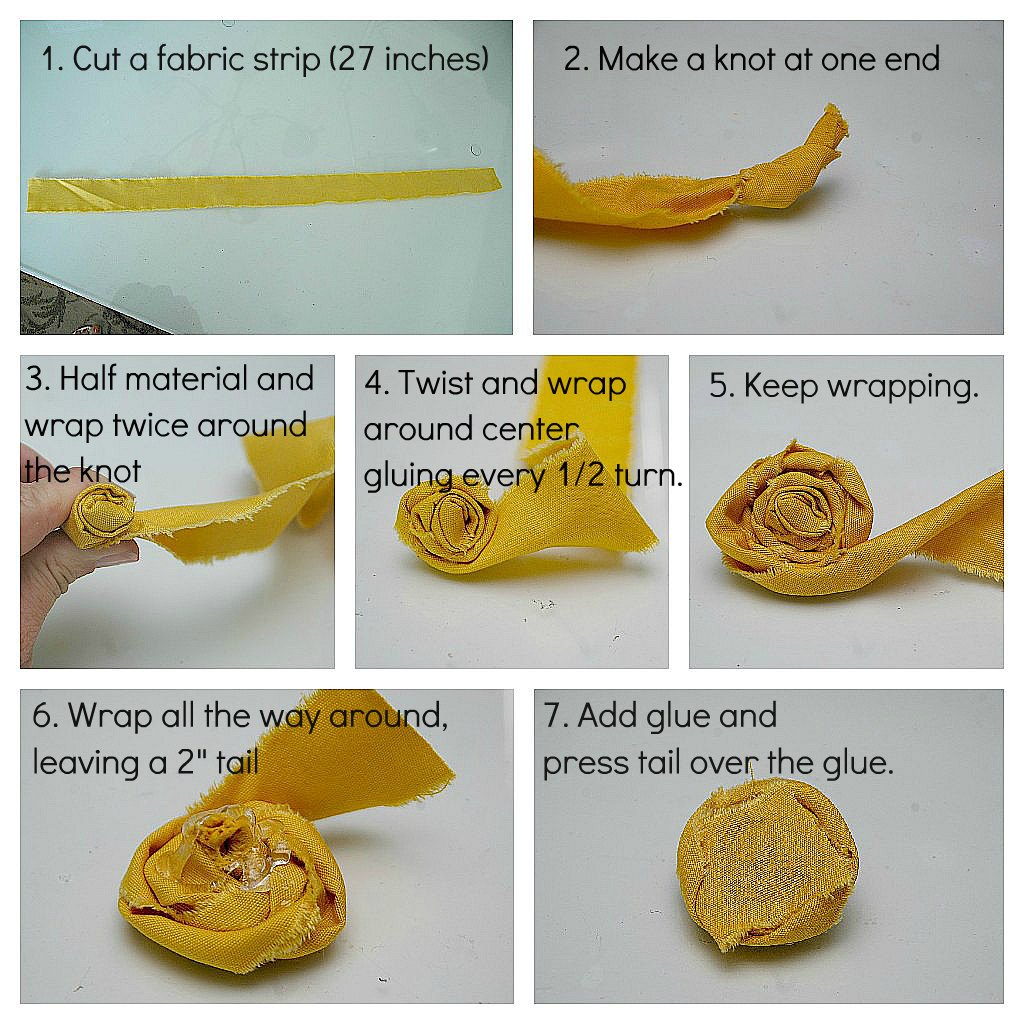
- And I made flowers out of the canvas strips. (you can find the total Flower Rosette Tutorial here)
- Then I took a Styrofoam wreath form and wrapped it in yellow canvas (4 inch strip)
- Once the flowers were made, I pinned them on the wreath, leaving space for the big turquoise rosette.
- Then I hot glued the flowers onto the wreath form.
- The last thing I did was tear two lengths of canvas 2 inches in width by 30 inches in length and tied them in a knot for the front of the wreath.
- And hung it up!
Rolled Flower Tutorial and 11 Rolled Flower Projects to Make!
July 10, 2012 by 22 Comments
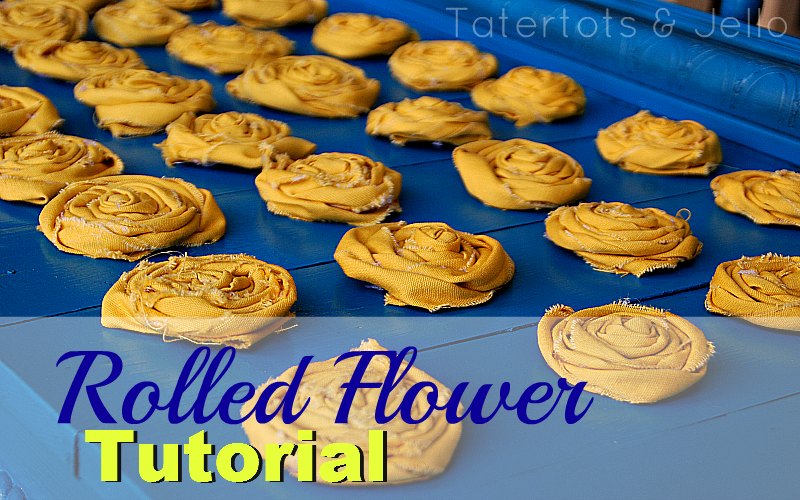
I am working on a project and made 50+ Rolled Flowers the other day.
I made my kids help me LOL! I love making these rolled flowers. There are so many things you can make with them!!
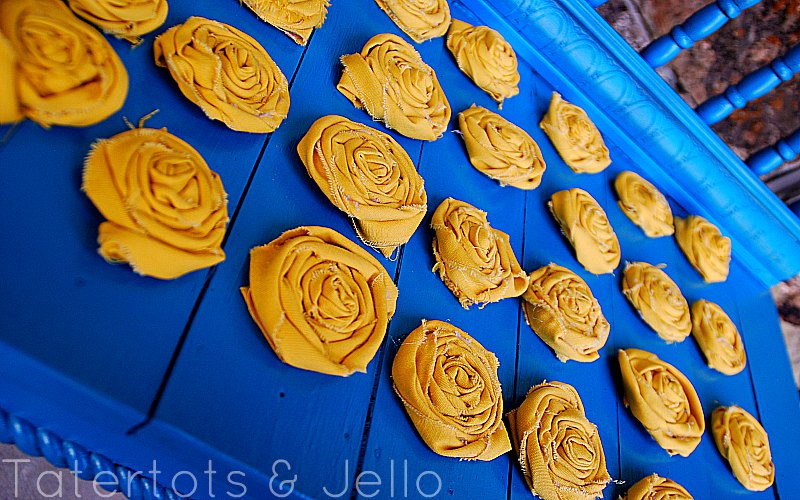
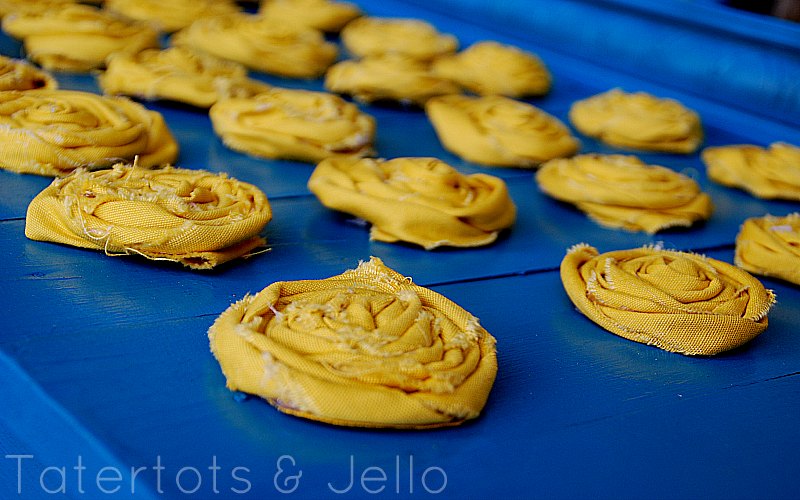
Here is a little tutorial on how to make these adorably easy flowers!
I even made a little impromptu video on how to make them if you want to check it out.
And here are 11 other projects you can make with these fabric flowers:
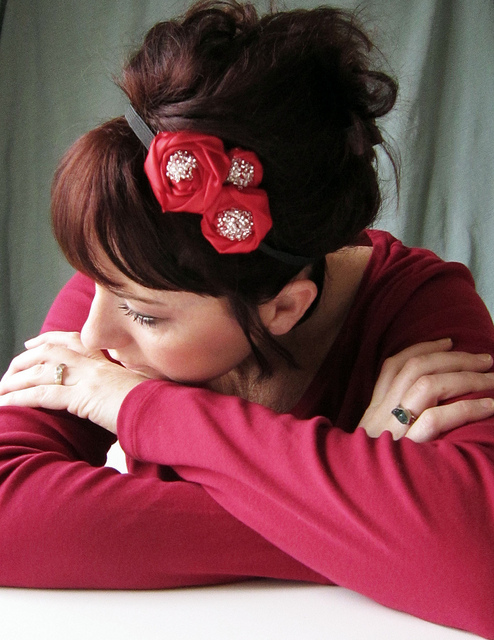
Ribbon Rolled Flower Hairband Tutorial @ Alisa Burke
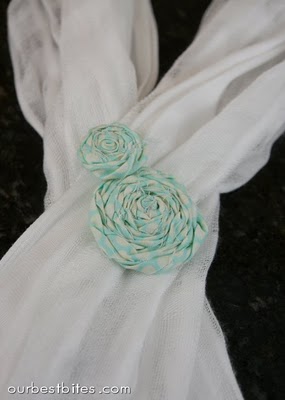
Rolled Flowers on a Shirt @ Our Best Bites
Rolled Flower Bracelet @ Billie Monster
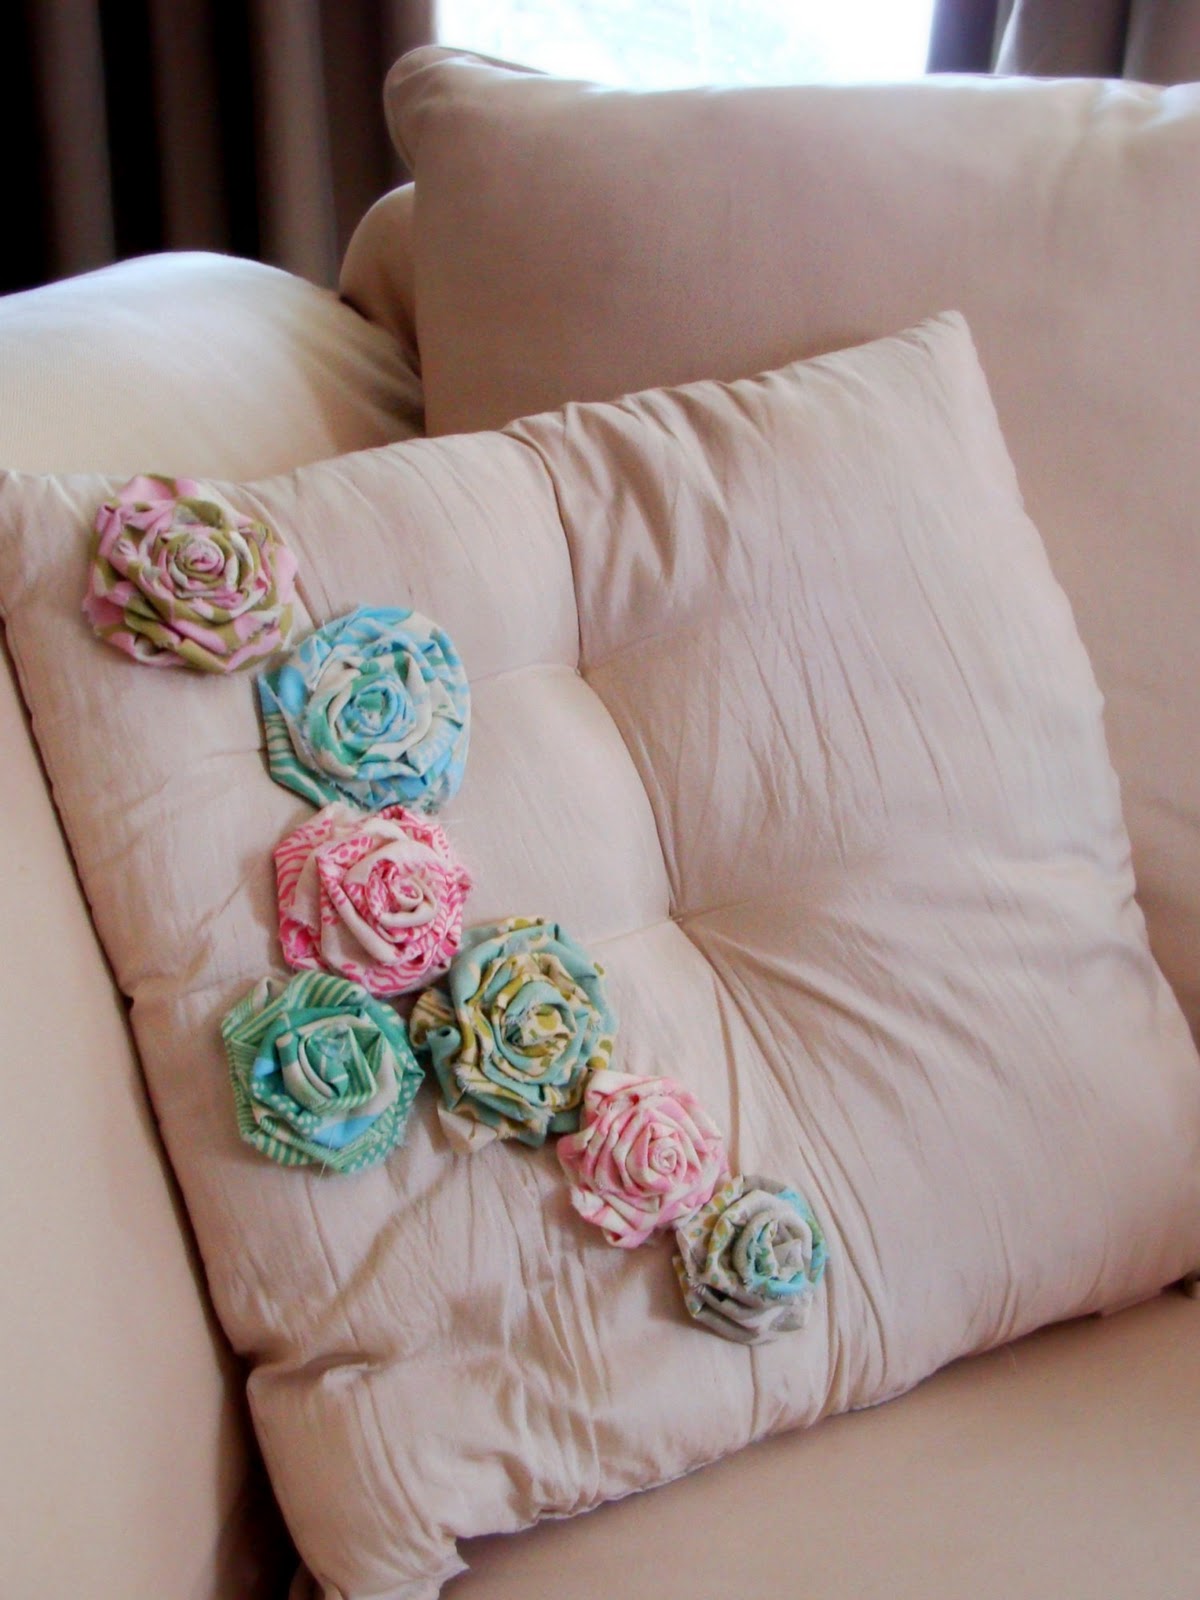
Rolled Flower Pillow @ Create and Delegate
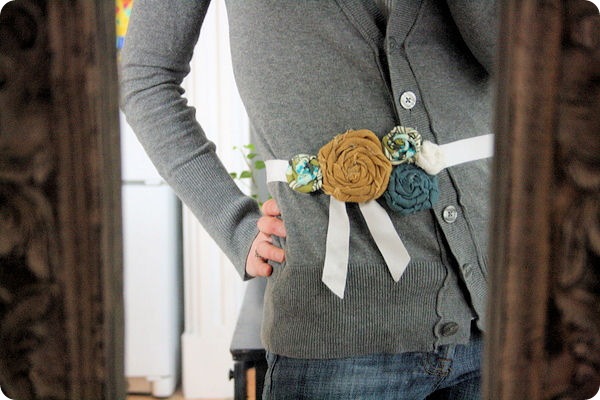
Rolled Flower Belt @ Jones Design Company
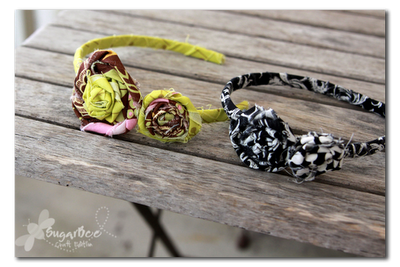
Rolled Flower Headbands @ Sugar Bee Crafts
Rolled Flower Pendants @ Oh Hello Friend

Rolled Flower Button Necklace @ Little Birdie Secrets
Rolled Flower Wreath @ Megan”s Musing
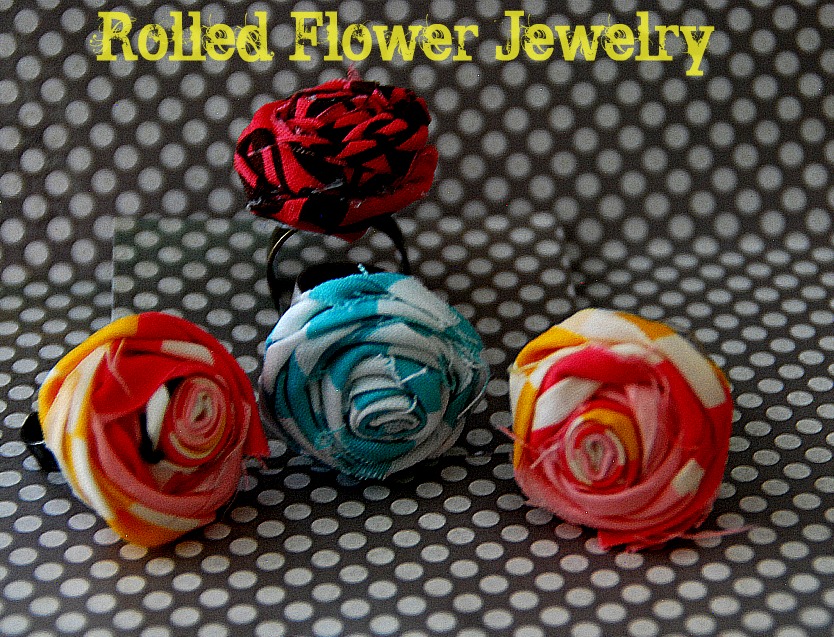
Rolled Flower Jewelry @ Tatertots and Jello
Rolled Flower Brooch @ Tip Junkie
COLAR COM CORDÃO FRANCISCANO
Achei lindo essa criação é do blog abaixo:
Anthro-inspired Nautical Necklace
Here’s my $5 version of Anthropologie’s Curls & Coils Necklace.
As soon as I saw this necklace, I was working out how to make it. I love the nautical, rough texture combined with the sparkle!
At first I was looking for cotton rope, but upon further inspection I discovered that it is actually made out of cotton upholstery cording.
I hand-stitched the cording together, forming loops.
At the ends I was at a loss of how to finish off the necklace. Of course there are professional beading ends that you can buy made specifically for this type of project. But I didn’t have them in my stash of bead-making supplies.
So I improvised, I wrapped the cut ends in a piece of scotch tape. Then I took metal wire and started about 1/2 inch from the end, I wrapped the wire tightly around the cording until I reached the end of the piece. Then I threaded the end of the wire through a metal beading cone (found at the craft store). I put some Gorilla Glue in the inside of the cone and pushed the end of the cord into the cone and let it dry. After it was dry, I made a loop with the wire and attached a jump ring to the loop. Then I took the other end of the wire and wrapped it around the base to secure the loop. I did this on each end of the necklace, making loops on both ends. On one side of the necklace I attached a lobster claw to the jump ring. On the other end I attached a 2 inch piece of find chain with 3 jump rings attached. That way the necklace is adjustable depending on the length I want to wear it.
On one side of the necklace I attached gold, rhinestone buttons that I found at Joanne Fabrics. I hand-sewed them on to the loops.
I wore it yesterday!!
GUIRLANDA DE PÁSCOA
Guirlanda da Artesã Márcia Jorge no Programa Sabor de Vida.
Veja PAP no link:
MATERIAL ESCOLAR NA DECORAÇÃO
 03. fev, 2012 por Cris Turek
Quando você pensa que já viu de tudo, eis que mais uma surpresa nos aparece. E que grata surpresa perceber que existe muito bom gosto no inesperado. Assim é com o material escolar utilizado em objetos decorativos. Você já sabe onde ele está na foto acima?
 | Aí está: são 78 réguas escolares de metal que formam a moldura do espelho sobre a lareira. Ficaram impressionados? Eu também. O trabalho é da moisacista Karen Johnston da Mosaicworks.ca, e não pára por aí. Vamos conferir? |
Dica de decoração
| Essa é outra das aplicações criadas pela Karen, e olhando assim, jamais diríamos que são réguas escolares. Você pode reproduzir e obter o mesmo efeito. A moldura do espelho e o painel foram feitos sobre um suporte de MDF, que você pode encomendar num bom marceneiro. |  |
 | Junte muitas réguas de madeira furadas dos dois lados para receber parafusos. |
| Junte também parafusos e porcas para prender as réguas no MDF. As porcas ficam para o lado da frente, e fazem parte do design final. |  |
A partir daqui é só mão-de-obra.
É ou não é pura criatividade? Claro amigos, um trabalho bem feito e com capricho de artista, obtém resultados muitos mais impactantes. Assim, calma e precisão fazem a diferença.
Fica a dica, afinal precisamos olhar todos os objetos com um foco diferente.
Visitem também o site da artista, que é fera no mosaico e cria várias linhas de molduras, uma mais linda que a outra.
Fotos: Mosaicworks.ca
VILA DO ARTESÃO
http://www.viladoartesao.com.br/blog/2012/02/o-material-escolar-na-decoracao-como-usar/
BASTIDOR NA PAREDE - BANANA CAZZA
BASTIDOR NA PAREDE
SIMPLES E LINDO...
Fiz algo parecido no quarto da Luli, mas não com tantos bastidores.
Mas é muito fofo, né!
E a pequenina no berço ainda mais!!!
Bjs.
Jo
APRENDA A FAZER UM REVISTEIRO
REVISTA ARTESANATO
Achei esse vídeo no YOUTUBE da artesã Kelly Castelo e achei linda a flor
Para quem gosta de Flores!!
Dica da Vila do Artesão
Quer Aprender e Fazer coisas lindas em artesanato.
Acesse o Blog da Soraya Rejane Correia

A QUERIDA IVANA MAGDA, ENSINA A FAZER UM DIVINO ESPÍRITO SANTO NO PROGRAMA SABOR DE VIDA.
CONHECI A ARTESÃ ELIZANDRA SOBRAL, ELA É MUITO MEIGA E TEM UM TRABALHO LINDO.
VEJA O VÍDEO ABAIXO UM TRABALHO LINDO DELA.
A ARTESÃ NADIA SILVIA ENSINA ROSAS EM EVA NUMA PERFEIÇÃO, NO PROGRAMA SABOR DE VIDA - TV APARECIDA

 Artesanatos Interessantes - PAP





Vi seu vídeo no sabor de vida, passo a passo de heardband e gostei muito! quero participar desses sorteios, rs. Te add, no face, o meu laura Lima de Betim, ok? Abração.
ResponderExcluirObrigada pelo carinho.
ExcluirOla Renata!
ResponderExcluirNa minha cidade não tem a a tv Aparecida ,
mesmo assim eu tenho assistido videos no yutube .Adoooorei a head band da revista , espero
qualquer dia ser sorteada =)....Bjoos!!
Olá Gleici!! Obrigada pelo carinho...visite sempre o blog, sempre coloco novidades....
ExcluirOi Renata!
ResponderExcluirObrigada por indicar meu blog!
Beijos e uma ótima semana!